
Review · AMSTERDAM
Capture Iconic Amsterdam: Photo Walk with a Pro Photographer
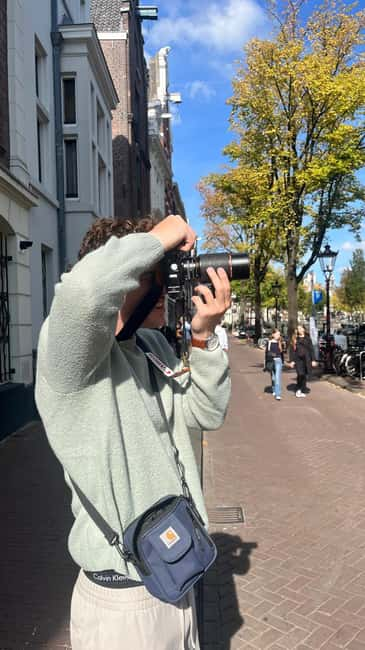
Amsterdam reveals itself through reflections, narrow alleys, crooked gables, and shifting light. This private photo walk turns central Amsterdam into a hands-on classroom, with photographer Joep van Drunen helping you make stronger images rather than simply pointing out sights.
I like the personal approach and the route’s variety. You move from Dam Square to Begijnhof, canal bridges, the Flower Market, and the Zuiderkerk area, while getting advice for your own camera or phone. The included map, technical booklet, and five editing tips also give the lesson some life after the walk.
The main consideration is pace. You cover several stops in 2.5 hours, so this is not a slow sightseeing tour with long visits at each place. At the 9 AM start, the Begijnhof courtyard is closed, and DSLR users cannot photograph inside it on later tours either.
Key points at a glance
- Private guidance from Joep van Drunen: Your settings and questions get direct attention instead of being lost in a large group.
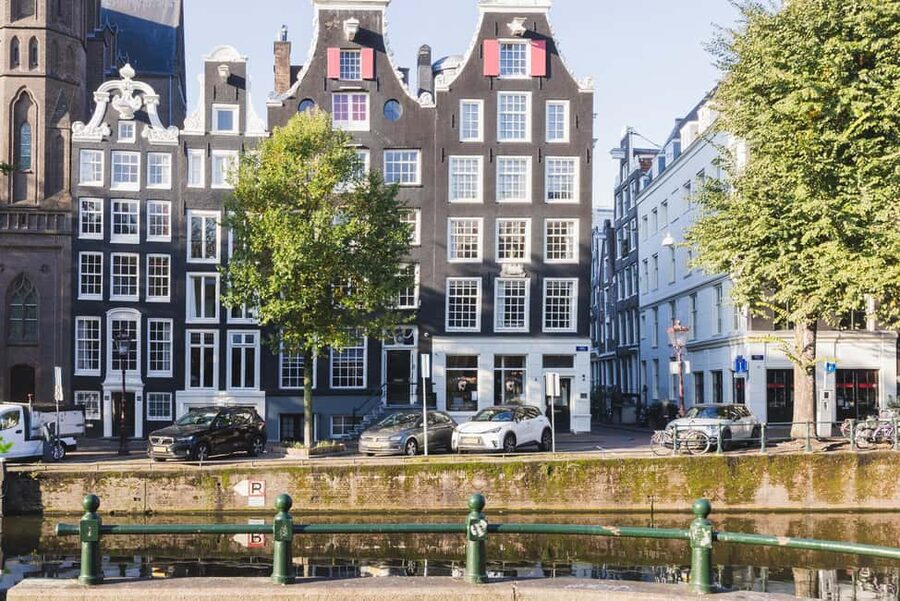
- A useful central Amsterdam route: Photograph Dam Square, Begijnhof, Herengracht, the Flower Market, Reguliersgracht, and the Zuiderkerk area.
- Practical camera lessons: Work on ISO, aperture, shutter speed, depth of field, long exposure, motion blur, split-toning, and histogram reading.
- Smartphone-friendly instruction: Bring a smartphone if that is your main camera, with special attention to composition and the Begijnhof courtyard rules.
- Helpful take-home material: You receive an illustrated map, a technical booklet, and five post-processing suggestions.
- Flexible private format: The route can pause for coffee and may be adapted toward a particular Amsterdam scene you want to photograph.
What this Amsterdam photo walk is really like
This experience is best understood as a walking lesson with a strong sightseeing component. You are not simply handed a list of scenic places and told to take pictures. Joep starts by checking your equipment and basic settings, then gives you small assignments and corrections as the route unfolds.
That matters because Amsterdam can be tricky to photograph. Bright skies, dark canal water, reflective windows, pale stone, and shaded streets often appear in the same frame. A shot that looks fine on the camera screen can later reveal a washed-out sky or black shadows. The walk deals with those problems in the places where they occur.
The group is private, and that changes the feel of the outing. If you are still learning what aperture does, you can stop and ask. If you already understand exposure and want to work on motion blur or split-toning, you can move toward those subjects instead. The experience is suited to hobbyists, but beginners are welcome too.
You should bring a charged camera or phone, spare batteries, plenty of memory, and comfortable shoes. Amsterdam’s cobblestones are manageable, but you will be walking and stopping often. A small backpack is more useful than a large camera bag.
More Photography Tours in Amsterdam:
- Amsterdam: Customizable Photography Tour with 9-10 Photos
★ 5.0 · 22 reviews - Barcelona E-Bike Photography Tour
★ 5.0 · 843 reviews - Tromso: Northern Lights Photography Tour
★ 4.2 · 843 reviews
Starting beneath the National Monument on Dam Square
The meeting point is the tall white National Monument in the middle of Dam Square. It is easy to spot, and meeting directly at its base removes the usual first problem of a city tour: finding the guide.
Dam Square gives you an immediate practice subject. You can work on framing around the monument, surrounding buildings, pedestrians, and changing light. The opening photo stop is brief, about 10 minutes, so think of it as a warm-up rather than a full architectural study.
Joep also uses this early stage to check your equipment. You can expect attention to ISO, aperture, and shutter speed, the three basic controls that shape most photographs. If you use a phone, the advice will be more about exposure control, focus, composition, and the strengths of your editing tools.
This is a useful start for anyone who tends to leave the camera on automatic. You begin applying settings before the walk reaches its more photogenic canals.
Begijnhof and the first timing choice
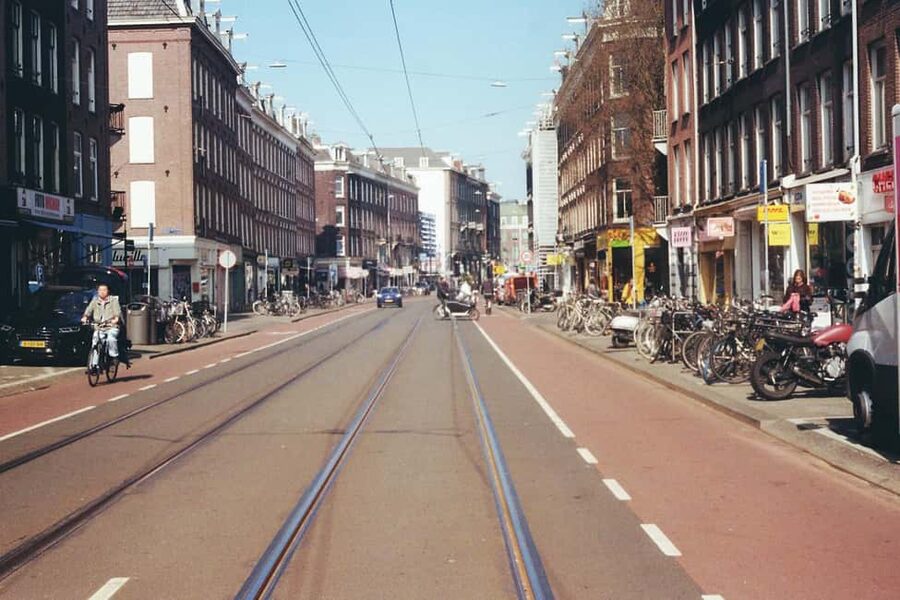
The route then heads toward Begijnhof, a quiet enclosed courtyard close to the busy center. Its calm atmosphere and historic buildings create a sharp contrast with Dam Square and the shopping streets nearby.
There is an important timing detail. On the 9 AM tour, the inner courtyard is still closed, so you photograph the surrounding lanes and buildings instead. Later departures enter the courtyard, but DSLR cameras are not allowed inside. That makes this part particularly well suited to smartphone photography.
The 15-minute stop is less about collecting a postcard view and more about composition. You can work on clean framing, repeated lines, and the challenge of photographing a quiet place without filling the picture with unnecessary detail. Joep can help you decide where to stand and which elements to leave out.
If entering the courtyard is a priority, do not assume the early departure will provide that. If you use a DSLR, be prepared to photograph from the surrounding area rather than inside. These restrictions are small, but they matter to photographers choosing a start time.
From Spui to the canal views at Herengracht
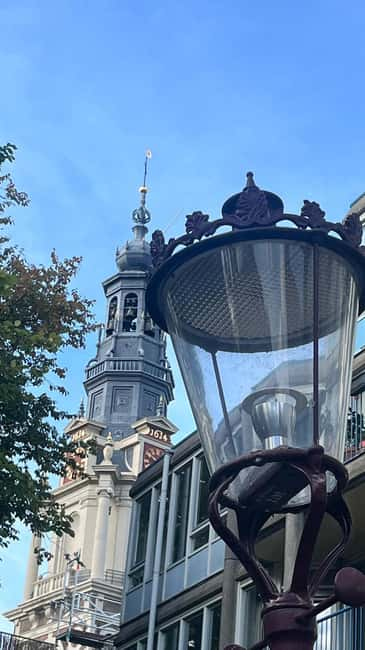
After Begijnhof, the route passes Spui and continues through a narrow alley identified as Dubbele Worststeeg. The itinerary also names Wijde Heisteeg as a photo stop. Together, these lanes add a different kind of subject: tight urban framing before the route opens toward the broad Herengracht.
This is where the lesson moves from basic camera setup to deliberate composition. Amsterdam’s canal belt gives you several reliable tools:
- Reflections in the water can balance the upper half of the frame.
- Bridge rails and canal edges can create leading lines.
- Repeated gabled houses can form patterns.
- A narrow viewpoint can add foreground depth.
- Symmetry can make a bridge or canal feel orderly and calm.
I like this part because the best canal photograph is rarely just a record of a canal. You need to decide how much water to include, where the nearest bridge should sit, and how to keep bright sky from taking over the picture.
The roughly 15-minute stop at Wijde Heisteeg gives you time to work without turning the walk into a long technical seminar. Joep can review images on your camera screen and point out a small correction. That direct feedback is more useful than hearing a general lecture about composition and trying to remember it later.
More photo tours and photoshoots around Amsterdam:
- Amsterdam Canal, Tulip, Windmill Photoshoot | Custom Request
★ 4.9 · 307 reviews - Amsterdam Canal, Tulip, Windmill Photoshoot | Custom Request
★ 5.0 · 147 reviews - Amsterdam: Foam Photography Museum Admission Ticket
★ 4.2 · 141 reviews - Become a Dutch Art Piece Photo Shoot in Amsterdam
★ 5.0 · 100 reviews
Color and detail at the Flower Market
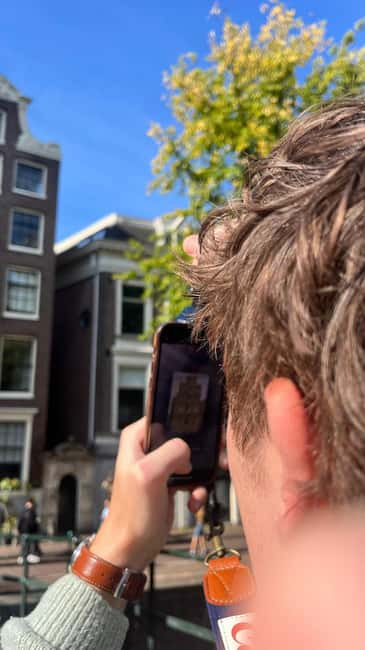
The Amsterdam Flower Market provides a change of scale. After working with canals and full streets, you can concentrate on smaller details, color, texture, and close framing.
The market is a good place to test how your camera handles strong color. You might work on separating one subject from a busy background, controlling depth of field, or making a detail shot feel intentional. A wide scene is not always the strongest photograph. Sometimes one small arrangement, sign, or display gives you a clearer sense of place.
The stop is listed at about 15 minutes, with a short walk to reach it. Do not expect a long shopping visit or an extended tour of market stalls. The purpose is photographic practice, not retail browsing.
This is also a useful point for smartphone users. Modern phones can produce strong detail images, but they often sharpen and brighten scenes heavily. Joep’s composition advice can help you rely less on automatic effects and more on choosing a clean subject and a firm frame.
Reguliersgracht and the classic Amsterdam frame
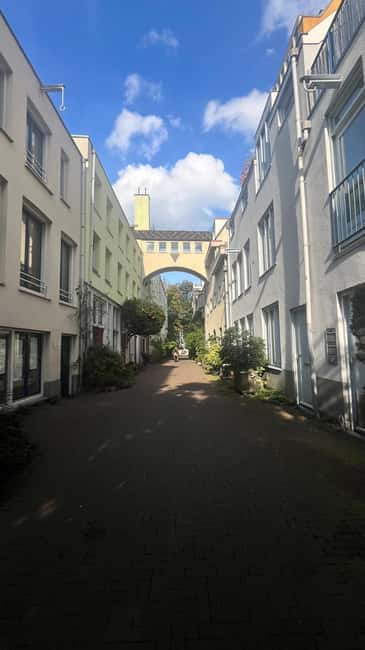
Reguliersgracht is one of the route’s most recognizable canal settings. Its bridges and waterway offer the kind of view many people hope to take home from Amsterdam, but a famous view still needs careful handling.
The 12-minute class and photo stop focus on exposure and composition. Joep demonstrates how to read your camera’s histogram, which is especially useful when the sky is bright and the canal is shaded. The histogram helps you spot highlights that have become pure white and shadows that have lost all detail.
This is a practical skill rather than a decorative camera term. The screen on a sunny day can fool you. A photograph may appear properly exposed until you view it later on a larger display. Learning to check the histogram gives you a more reliable way to judge the image while you can still retake it.
This stop also suits work with depth. A nearby bridge can act as a foreground frame, while the canal leads your eye toward the houses beyond. You can try a standard exposure first, then experiment with a slower shutter speed if the light and subject allow it.
The advertised techniques include long exposures and creative motion blur. Those methods require care. Moving people, bicycles, or water can become part of the effect, but too much blur can make a photograph look accidental. Personal instruction is useful here because Joep can help you decide when the effect adds something and when it simply removes detail.
Aluminiumbrug, Staalmeestersbrug, and the Zuiderkerk tower
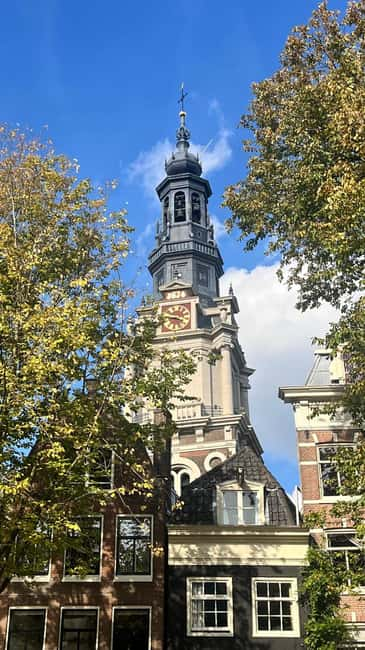
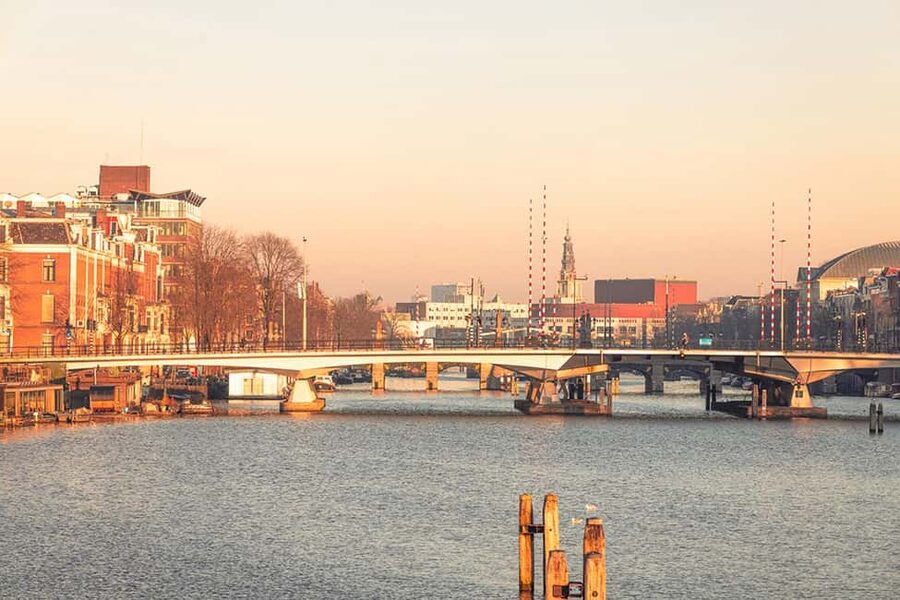
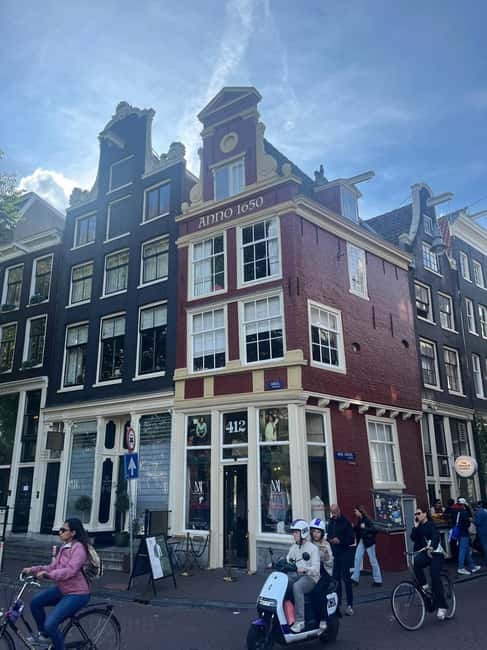
The route continues through the Zuiderkerkbuurt, including the Aluminiumbrug and the well-known Staalmeestersbrug. From the latter, you get a classic view toward the Zuiderkerk tower.
This is the strongest setting for thinking about depth and balance. The bridge, canal, buildings, and church tower can compete for attention, so your position and lens choice matter. A small change in viewpoint may give the tower more space, make the bridge a stronger foreground element, or reduce distractions along the edges.
You will also have a chance to compare different approaches. A wide composition can show the relationship between bridge and tower. A tighter frame can make the tower the clear subject. If your camera allows it, a deeper depth of field can keep both foreground and background readable, while a wider aperture can separate one element from the rest.
The stop in this district lasts about 15 minutes and includes walking and guided instruction. It is not only a photo stop. Joep uses the route to explain how to assess a scene before pressing the shutter.
Quick editing help before returning to Dam Square
As the walk circles back toward Dam Square, the focus shifts from taking photographs to improving them. The post-processing advice is designed for a phone or camera workflow rather than a long desktop session.
You can learn how to use custom profiles or common mobile editing apps for simple changes such as:
- Matte-curve treatments
- Stronger color contrast
- Subtle film-style grain
- Basic tonal adjustments
- Quick corrections to the look of an image
The included five post-processing tips give you a starting point for work after the tour. I would not treat this as a full editing course. The value is in learning a repeatable set of small changes instead of applying every filter available.
The final Dam Square stop includes another short class and photo opportunity. That gives you a chance to test what you have learned in a familiar place. You may see the square differently at the end, with more attention to exposure, foreground space, lines, and the edges of the frame.
What is included and what you need to bring
The price is $112 per person for 2.5 hours. That is a serious cost for a walking tour, but the private format makes the value easier to understand. You are paying for direct instruction, live image checks, a route chosen for photography, and materials you can use afterward.
The package includes a guided walk with a professional photographer, camera demonstrations, personal feedback, a coffee-based image review, an illustrated map, and a detailed technical booklet. You also receive five post-processing tips.
You supply the equipment. Camera rental is not included, and neither are extra batteries, memory cards, or storage devices. Meals and drinks beyond the included coffee are also your responsibility. The public stops do not require paid entry, so there are no expected admission charges along the route.
The price makes the most sense if you will use the advice after Amsterdam. If you only want a guide to point out famous sights, a standard city walk may cost less. If you want help with your own camera and a private chance to ask questions, the added cost is easier to justify.
Who will get the most from this walk
I would recommend this experience to a few specific types of visitors:
- Beginners who want to understand basic camera settings without sitting in a classroom.
- Hobby photographers who know the basics but want better composition and exposure.
- Smartphone users who want more control over framing and editing.
- Couples or private groups with different skill levels.
- Visitors who prefer quieter morning streets and want a flexible route.
- Anyone hoping to photograph both familiar Amsterdam scenes and less obvious viewpoints.
The walk is also a good fit if you have a particular subject in mind. The route can be adjusted toward a place you especially want to photograph, and the walk may pause for coffee. That flexibility is more useful in a private group than in a fixed large tour.
It is less suitable if you want a long museum visit, extensive shopping time, or a leisurely sightseeing stroll with no technical instruction. You will walk between several stops, and the schedule keeps moving.
The experience is wheelchair accessible, and instruction is offered in Dutch or English. You can cancel up to 24 hours ahead for a full refund, and reserve now while paying later, which helps if your Amsterdam plans are still shifting.
Should you book Capture Iconic Amsterdam?
Book it if you want to leave Amsterdam with more than a folder of automatic snapshots. Joep van Drunen’s approach combines famous views with useful technique, and the private format lets the lesson match your camera and experience.
Choose a later start if entering Begijnhof matters more than getting the quietest possible streets, and remember that DSLR cameras are not allowed inside the courtyard. Choose the 9 AM option for a calmer start, but expect to photograph the area around Begijnhof rather than its inner courtyard.
At $112, this is not the cheapest way to see Amsterdam. It is a fair choice for anyone who values personal coaching, wants feedback on actual images, and plans to keep photographing after the holiday. Bring your own gear, arrive ready to walk, and you should come away with both better pictures and a clearer sense of why they work.
FAQ
Where does the photo walk start?
The meeting point is at the foot of the National Monument in Dam Square, the tall white pillar in the middle of the plaza.
How long does the experience last?
The walk lasts about 2.5 hours, with the route and stops taking roughly 2 to 2.5 hours.
What type of camera can I bring?
You can bring a DSLR, mirrorless camera, advanced compact camera, or smartphone. Camera rental is not included.
Can I join with a smartphone?
Yes. Smartphone users receive advice suited to their equipment, and the Begijnhof courtyard is a useful place to practice smartphone photography.
Can DSLR cameras be used inside Begijnhof?
No. DSLR cameras are not allowed inside the courtyard. On the 9 AM tour, the inner courtyard is also closed, so the surrounding area is photographed instead.
Is the experience private?
Yes. The activity is offered as a private group, allowing the instruction and route to be tailored to your equipment and interests.
What should I bring?
Bring your own camera or smartphone, fully charged batteries, ample memory, comfortable shoes for cobblestones, and a small bag for your equipment.
Fresh shoots around Amsterdam
- Amsterdam: Professional photoshoot at Centraal Station★ 4.6 · 7 reviews
- Amsterdam: Professional Photoshoot at the Canals★ 5.0 · 3 reviews
- Amsterdam: Private Photoshoot in iconic locations★ 5.0 · 4 reviews
- Amsterdam Canals Photoshoot: Private Solo, Family or Couples★ 4.9 · 9 reviews
- Amsterdam: Photography Masterclass – Private Photo Lesson★ 5.0 · 2 reviews
- Amsterdam: Professional photoshoot at Dam Square.★ 5.0 · 2 reviews
- Amsterdam Photographer: Private Proposal Photoshoot Session★ 5.0 · 2 reviews
- Amsterdam: Photoshoot on the Canals★ 4.5 · 2 reviews
Amsterdam Photo Tours & Photoshoots, frame by frame.
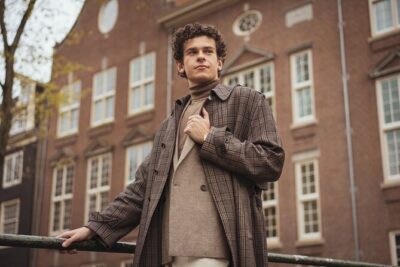
Amsterdam Canal, Tulip, Windmill Photoshoot | Custom Request
Read our review →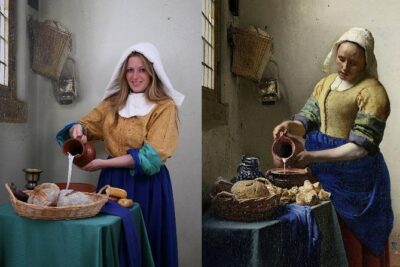
Become a Dutch Art Piece Photo Shoot in Amsterdam
Read our review →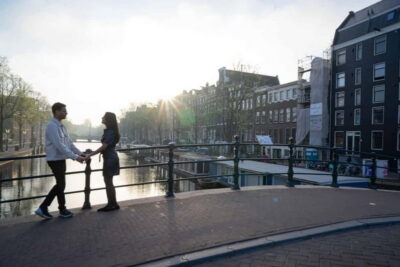
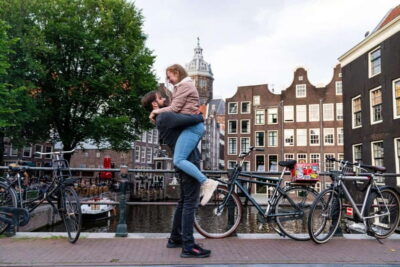
Amsterdam Canals Photoshoot: Private Solo, Family or Couples
Read our review →
This shoot also appears in